在 Gemini CLI 支持扩展(Extension)之后,Claude Code 版的扩展也来了,不过它叫 Claude Code Plugin。
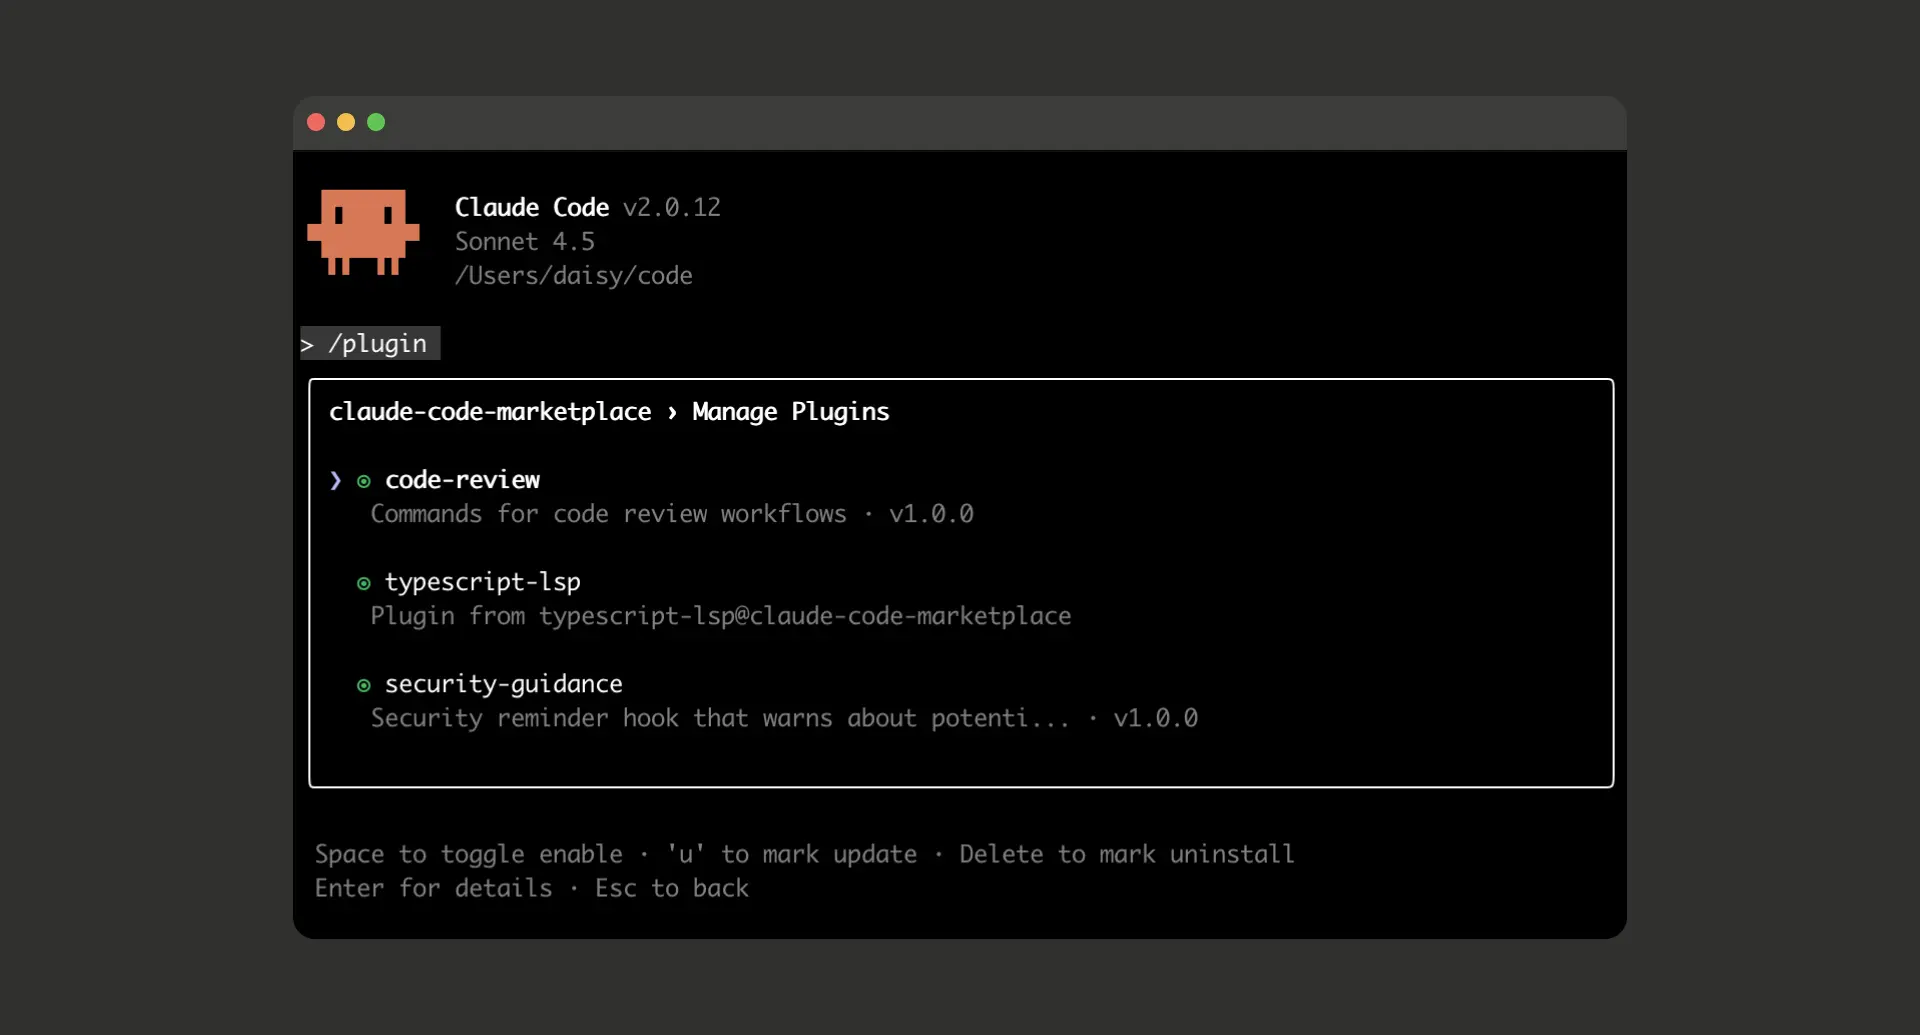
Claude Code Plugin 可以把自定义命令、SubAgent、MCP 服务器以及钩子打包到一起,方便用户和组织集中管理和共享 Claude Code 配置。你可以使用 /plugin 命令直接在 Claude Code 中安装插件。
为什么需要 Claude Code 插件?
之前用 Claude Code 的时候,我自己写了不少自定义命令和 SubAgent。为了方便分享,我还把它开源到了 feiskyer/claude-code-settings。在使用时,需要把它克隆到本地的 ~/.claude 目录中,比如
git clone https://github.com/feiskyer/claude-code-settings.git ~/.claude
这种方法虽然有效,但也有个问题是它会覆盖本地已有的 Claude Code 配置,需要手动做配置合并。
而现在有了插件用起来就方便很多了,Plugin 系统把这些全打包成了“即插即用”的模块,比如:
# 安装官方插件市场
/plugin marketplace add anthropics/claude-code

# 一键安装功能开发工作流
/plugin install feature-dev
然后,你可以通过 /feature-dev 去使用这个新功能开发工作流了。
Claude Code 插件包含什么?
Claude Code Plugin 会打包 Claude Code 最核心的四种配置,基本上把 Claude Code 的所有扩展点都覆盖了:
1. 自定义命令
自定义命令,需要把对应 markdown 文件扔到 commands/ 目录中。
2. SubAgent
专门针对特定任务的 SubAgent,需要把对应 markdown 文件扔到 agents/ 目录中。Claude Code 会根据任务自动调用合适的 Agent。
---
description: What this agent specializes in
capabilities: ["task1", "task2", "task3"]
---

# Agent Name

Detailed description of the agent's role, expertise, and when Claude should invoke it.

## Capabilities
- Specific task the agent excels at
- Another specialized capability
- When to use this agent vs others

## Context and examples
Provide examples of when this agent should be used and what kinds of problems it solves.
3. Hooks
事件驱动的自动化钩子,比如自动代码格式化、自动测试等等。Hooks 配置需要放到 hooks/hooks.json 文件中,格式为:
{
  "hooks": {
    "PostToolUse": [
      {
        "matcher": "Write|Edit",
        "hooks": [
          {
            "type": "command",
            "command": "${CLAUDE_PLUGIN_ROOT}/scripts/format-code.sh"
          }
        ]
      }
    ]
  }
}
4. MCP 服务
通过 MCP 服务连接到外部工具,需要把配置放到 .mcp.json 文件中,格式为:
{
  "mcpServers": {
    "plugin-database": {
      "command": "${CLAUDE_PLUGIN_ROOT}/servers/db-server",
      "args": ["--config", "${CLAUDE_PLUGIN_ROOT}/config.json"],
      "env": {
        "DB_PATH": "${CLAUDE_PLUGIN_ROOT}/data"
      }
    },
    "plugin-api-client": {
      "command": "npx",
      "args": ["@company/mcp-server", "--plugin-mode"],
      "cwd": "${CLAUDE_PLUGIN_ROOT}"
    }
  }
}
5. 插件清单
除了以上 4 个 Claude Code 扩展配置之外,每个插件还需要定义一个清单列表,用来描述插件的功能、元数据以及所支持的功能,其格式如下所示:
{
  "name": "plugin-name",
  "version": "1.2.0",
  "description": "Brief plugin description",
  "author": {
    "name": "Author Name",
    "email": "author@example.com",
    "url": "https://github.com/author"
  },
  "homepage": "https://docs.example.com/plugin",
  "repository": "https://github.com/author/plugin",
  "license": "MIT",
  "keywords": ["keyword1", "keyword2"],
  "commands": ["./custom/commands/special.md"],
  "agents": "./custom/agents/",
  "hooks": "./config/hooks.json",
  "mcpServers": "./mcp-config.json"
}
Claude Code 插件市场
为了更方便地分享这些插件,Anthropic 还为其设计了插件市场功能,让用户可以更轻松发现、安装和管理 Claude Code 插件。这些插件都可以直接放在 Github 或者其他 Git 仓库中。
只要在你的 Git 仓库中增加一个 JSON 文件,就能发布自己的插件市场。比如创建 .claude-plugin/marketplace.json:
{
  "name": "my-tools",
  "owner": {
    "name": "Developer"
  },
  "plugins": [
    {
      "name": "code-formatter",
      "source": "./plugins/formatter",
      "description": "自动代码格式化工具",
      "version": "1.0.0"
    }
  ]
}
推送到 GitHub,然后:
/plugin marketplace add your-name/claude-plugins
然后全世界的 Claude Code 用户都能用你的插件了。
比如,对于 feiskyer/claude-code-settings,可以在打开 Claude Code 后,执行下面的命令安装:
/plugin marketplace add feiskyer/claude-code-settings
/plugin install claude-code-settings
一些小坑和建议
当然,Claude Code 插件系统还在 Public Beta,我测试时也遇到了一些小问题:
- 目录结构要严格:
commands/、agents/必须放在插件根目录; - 路径要用相对路径:所有路径必须以
./开头; - 环境变量很重要:
${CLAUDE_PLUGIN_ROOT}要用好,不然脚本找不到文件; - 调试用
--debug:遇到问题就加--debug参数,能看到详细的加载日志。
还有就是,插件安装后记得退出 Claude Code 重开开会生效。
相关资源:
- 官方文档:https://docs.claude.com/en/docs/claude-code/plugins
- 官方插件市场:
/plugin marketplace add anthropics/claude-code - 社区 Agent 合集:https://github.com/wshobson/agents
- DevOps 插件市场:https://www.aitmpl.com/plugins
欢迎长按下面的二维码关注 Feisky 公众号,了解更多云原生和 AI 知识。